⬇️
How to install modules?
The following documentation will provide you with the information you need to install any much. Consulting module. It will cover the module delivery, deployment and installation.
Much. Services Customers
Much. Consulting client
As a client of consulting services, we will take care of installing any modules for you. Please reach out to your dedicated consultant.
Much. Support Hub client
As a Support Hub client, please open a ticket at support@erp.muchconsulting.de. One of our support consultant will come back to you shortly.
Much. Products Customers
1.Module Delivery
After purchasing a much. module, you will receive the code as a ZIP file by email. The ZIP file correspond to the latest version of our product.
2.Module Deployment
After receiving a module, the deployment differs depending on your hosting type. This article covers odoo.sh and self-hosting.
➡️ Odoo.sh
- Unzip the file received in the previous section
- Upload the module in your instance repository, locally, using the following command :
Clipboard
$ git submodule add -b <branch> git@github.com:<repo>.git <module_name>
$ git add .gitmodules
$ git add <submodule_name>
$ git commit -s -m "add submodule"
$ git push
- Once the code is pushed to a staging branch or to the main branch and the build is done, the Odoo modules in the submodule will be available on the instance.
➡️ Self-Hosted Odoo
- Unzip the file received in the previous section
- Add the module in the repository locally, and push the changes to the git repo hosting platform(Ex. Github) using the below command :
Clipboard
$ git submodule add -b <branch> git@github.com:<repo>.git <module_name>
$ git add .gitmodules
$ git add <submodule_name>
$ git commit -s -m “add submodule”
$ git push
- Access the server on which Odoo is deployed, using the following ssh command:
Clipboard
$ ssh user@192.168.1.10
- Head to the directory that contains the repository you want to install and pull the changes on the server, using $ git pull. Changes will take place in the .gitmodules file.
- Initialise the submodule on the server, using the below command :
Clipboard
$ git submodule update --recursive --init
- Edit the Odoo configuration file so that Odoo can recognise the newly added modules(Inside the submodule). For this, you need to change the addons-path variable to add the path to the sub-module.
- Restart the Odoo service, using the following command :
Clipboard
$ sudo systemctl restart odoo
3.Module Installation
- Head to your Odoo instance
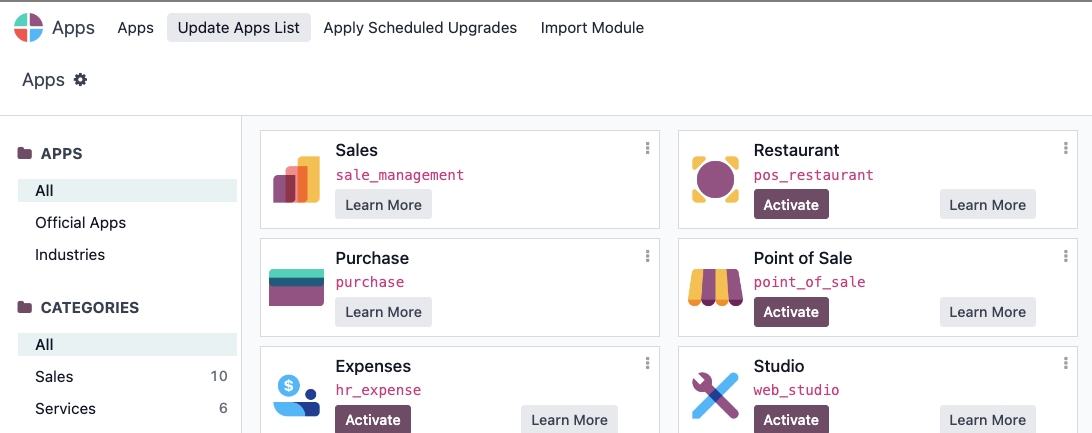
- Navigate to the Apps app.
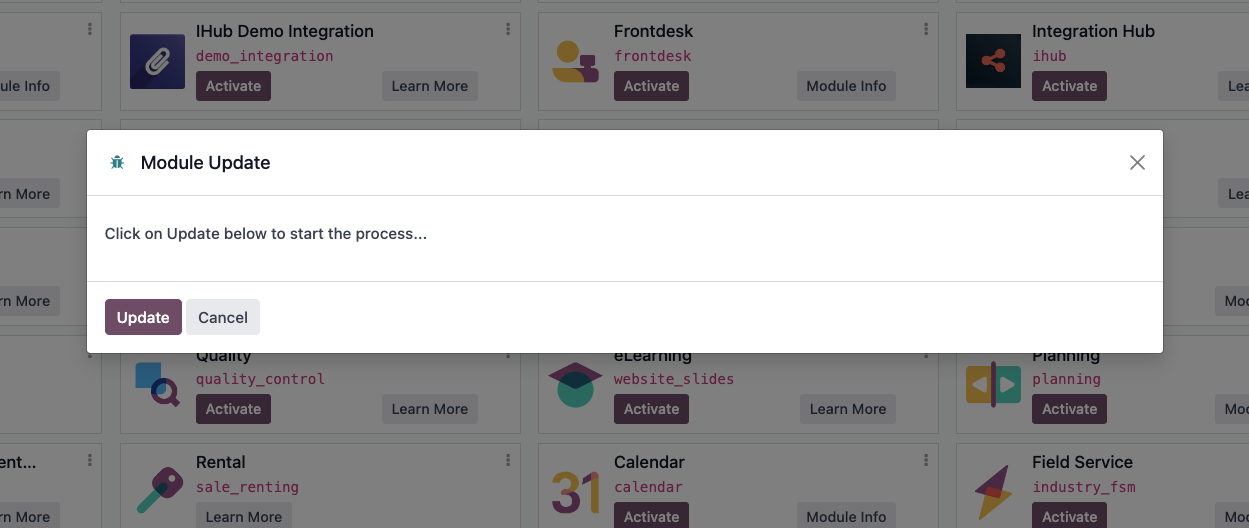
- Activate the developer mode, and click Update Apps List.


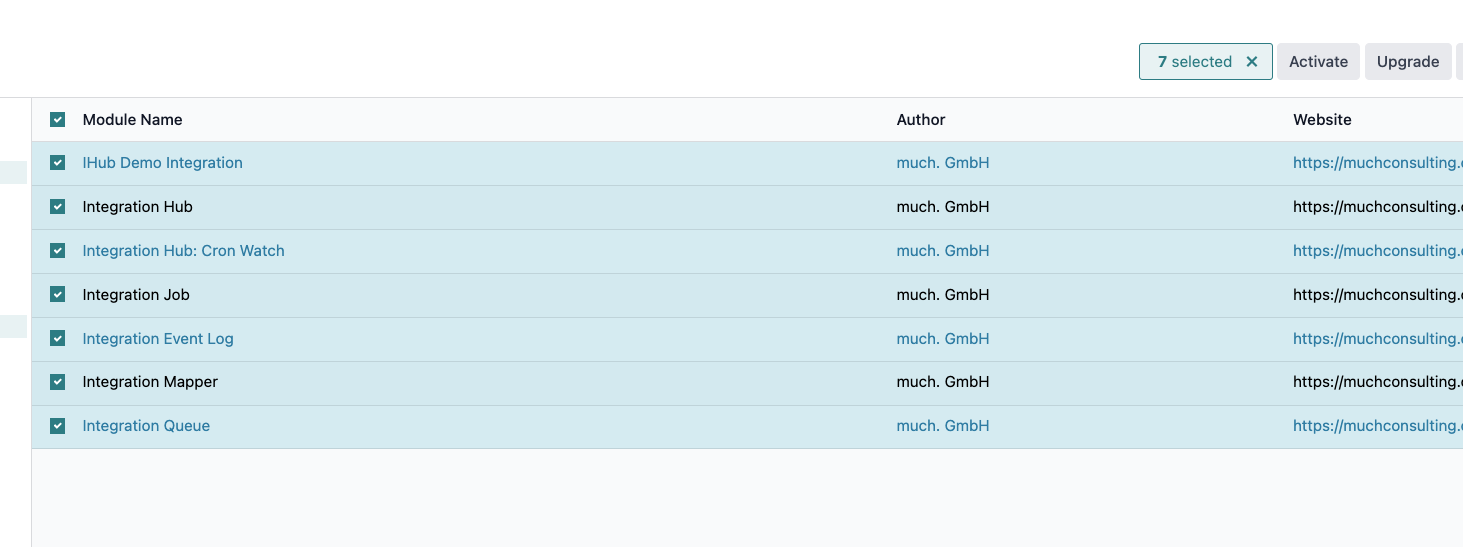
- Search for the modules name and select all related modules.

- Click Activate.