Shopware <> Odoo integration: User Documentation
The following documentation will provide you with the information you need to use the much. Shopware - Odoo integration. The objective is to get you familiarised with the integration by providing relevant information as to the main business processes it covers, and how you can configure it to best suits your needs.
Do you need support with our module? Open a ticket
Quick start guide
Odoo configuration pre-requisites
For the Shopware - Odoo integration to function, please make sure that you have the following Odoo standard modules installed :
- Sales
- Invoicing
- Accounting
- Inventory
Install the much. Shopware integration
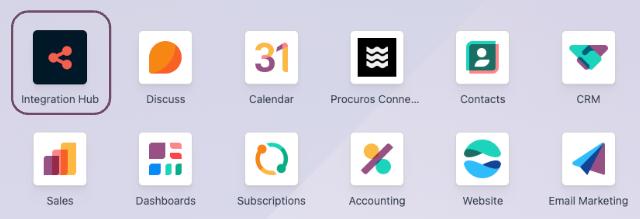
1. Install much. Integration Hub, Order base integration and much_notify modules from the Apps.
In Integration Hub > Settings, make sure you have the following settings enabled :
- iHub Logs
- iHub Mappers
2. Install much. Shopware integration module.
- Go to Odoo > Apps and search for Shopware.
- Click Activate
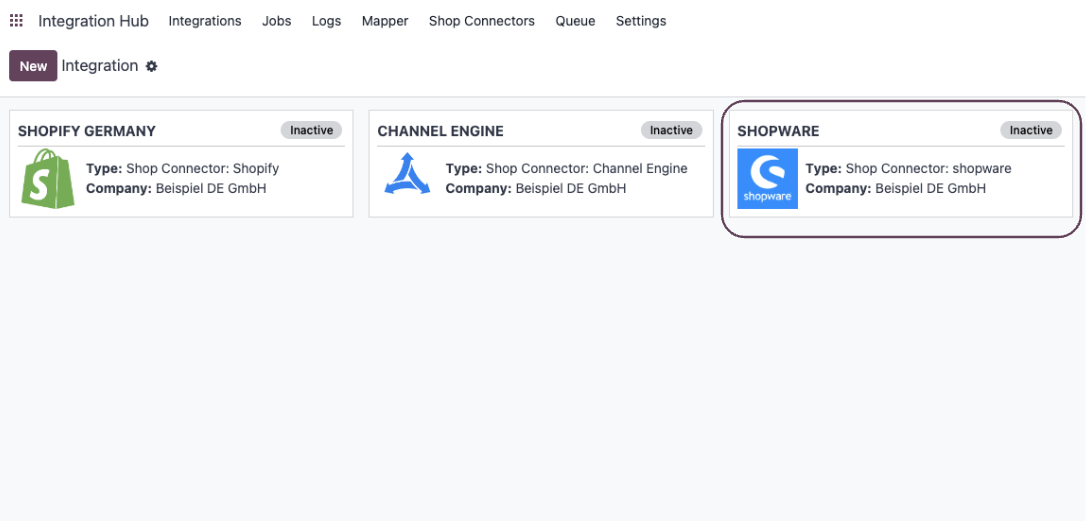
- Go to Integration Hub > Integrations and click New
- Add an integration name
- In the Integration Type field, select Shopware.
- In the Company field, select the Odoo company that this integration will be applied to.
- Click Save.
Enable the Shopware - Odoo integration
1. Retrieve your Shopware API credentials
- Login to your Shopware admin account
- Go to Settings > System > Integrations
- Click Add Integration
- Give it a name, enable Administrator, securely save the Access key ID and Secret access key
- Click Save Integration

2. Enable the integration in Odoo
- Go back to Odoo.
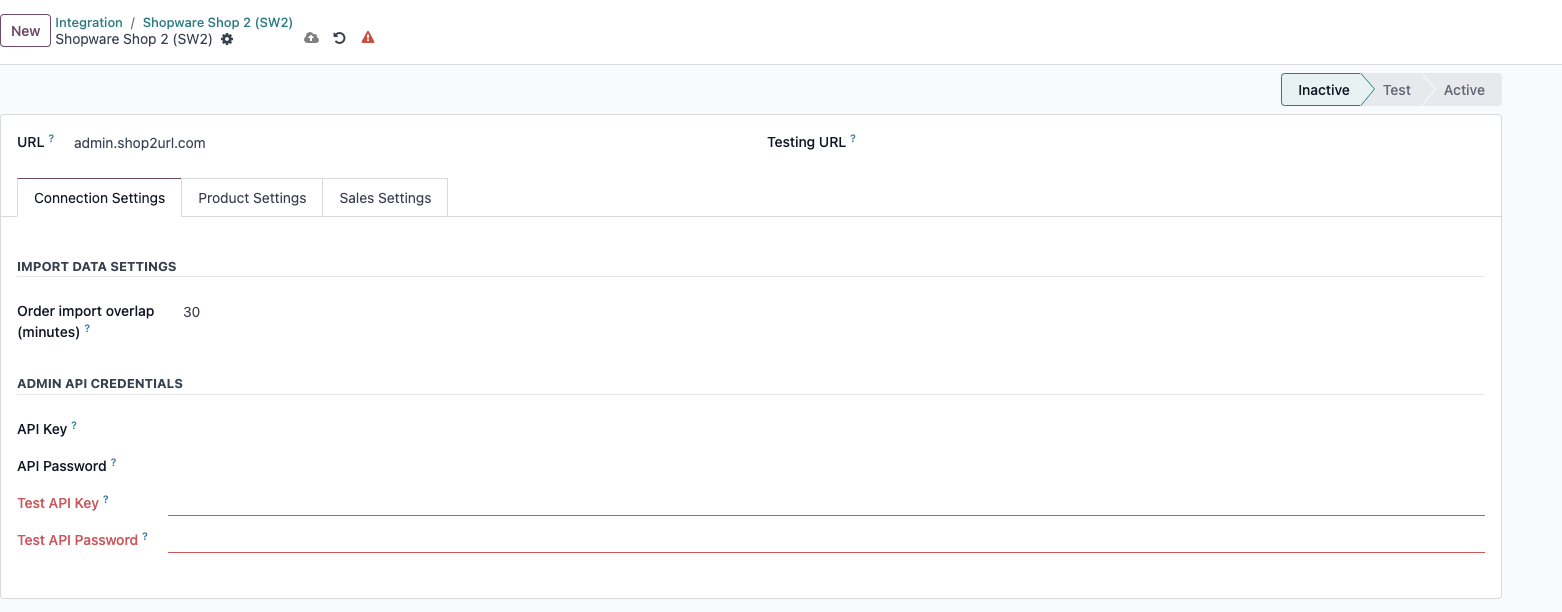
- Go to Integration Hub > Integrations > Shopware > Integration Settings.
- In the Url field, paste your Shopware Url - ex : https://shopware.muchconsulting.com/
- In the API key field, paste your Shopware Access key ID.
- In the API Password field, paste your Shopware Secret access key.
- Save.
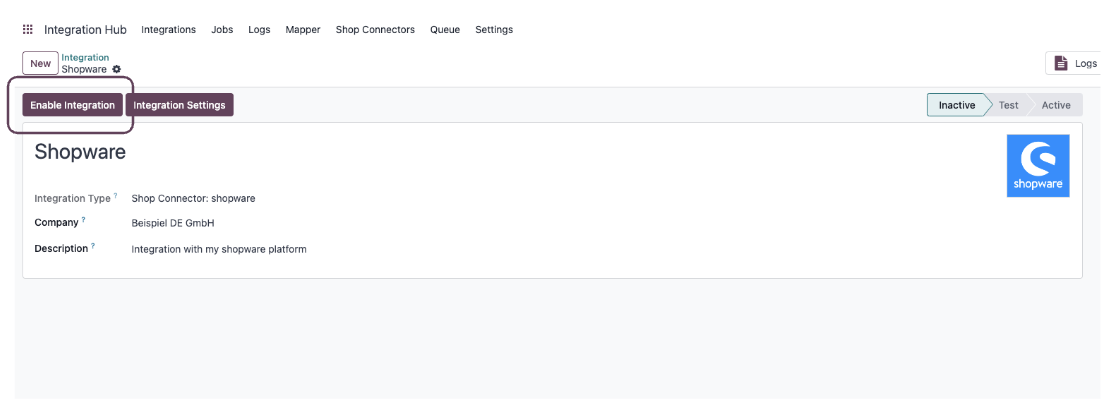
- Back to Integration Hub > Integrations > Shopware, click Enable Integration.
Configure taxes and currencies
Before synchronising products or importing orders, two mapping steps are required:
- Tax Mapping: In the connector header, click Import Taxes. This fetches all tax rates from Shopware and automatically creates the corresponding taxes in Odoo, already configured as VAT-inclusive. No further manual action is needed.
- Currency Mapping: Click Map Currencies. This maps Shopware currencies to their Odoo equivalents and sets the default currency for price calculations.
Synchronise your first product
Before you start synchronising products, the 2 following steps need to be performed :
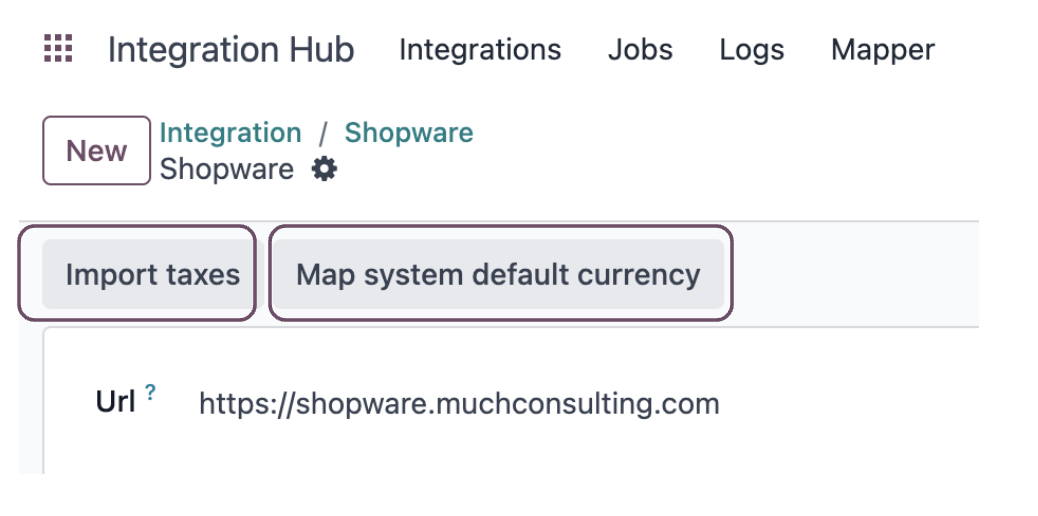
- Tax Mapping : in Odoo > Integration Hub > Shopware > Integration, click the Import Taxes button at the top left corner. This will allow the integration to set the proper taxes on Sales Order. Each tax in Odoo should then be set to "Included in Price".
- Currency Mapping : in Odoo > Integration Hub > Shopware > Integration, click the Map system default currency button. This will allow the integration to map currencies between both apps.
You are now all set to start synchronising Products.
Export products from Odoo
- In Odoo, go to Sales > Products.
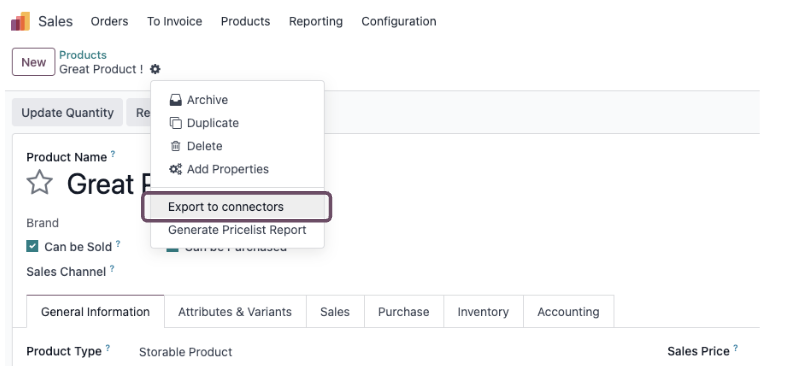
- Open the product of your choice, open the ⚙️ action menu and click Export to connectors.
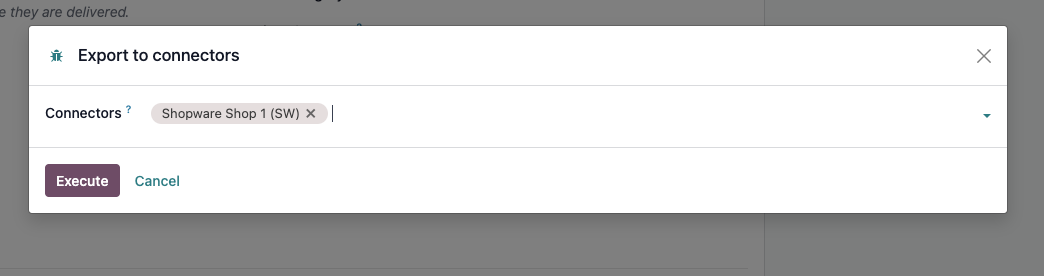
- Select Shopware from the drop down menu and click Execute.
- A pop-up appears, informing you of the successful export of the product to Shopware. You can also navigate to Integration Hub > Shopware > Logs to visualise the log associated with your recently exported product.
Import products from Shopware
Single product import
- In Shopware admin, go to Catalogues > Products and select the product you would like to import to Odoo.
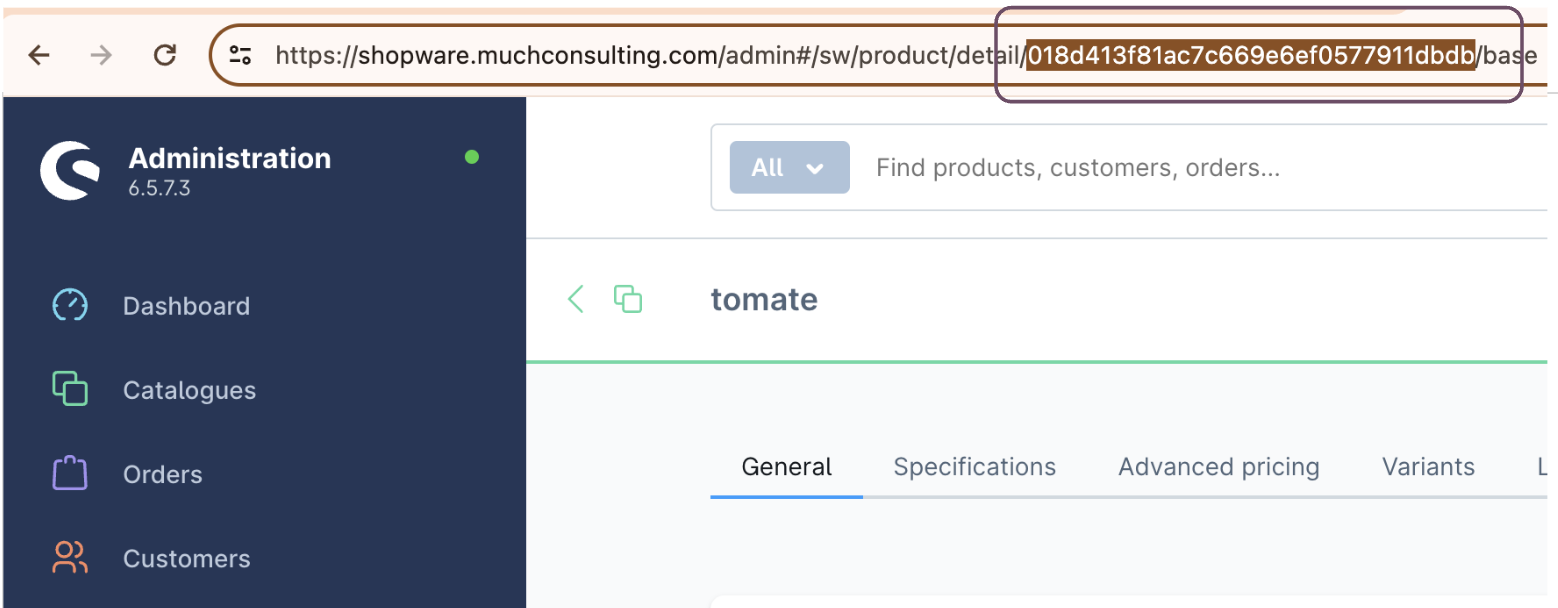
- In the product page, copy the product ID from the page URL.
- In Odoo, navigate to Integration Hub > Shopware and click the Import button.
- In the Resource field, select Products.
- If your product already exists in Odoo, select the Update existing products option.
- In the Import Mode field, select Standard
- In the Specific ids field, paste the product ID from the Shopware URL.
- Click Execute.
- Click on the Logs or Products smart button to access your newly imported product.
Full catalog import
To import your entire product catalog from Shopware into Odoo, please follow the following steps :
- In Odoo, navigate to Integration Hub > Shopware and click the Import button.
- In the Resource field, select Products.
- If your products already exist in Odoo, select the Update existing products option.
- In the Import Mode field, select High Volume.
- Click Execute.
- You will be notified when the export is finished. Click on the Logs or Products smart button to access your imported products.
Import your first order
Imported order data
| Odoo field | Shopware field |
|---|---|
| Order number | Order number |
| Order date | Order date |
| Order lines | Order lines |
| → Product (template or variant) | → Product name |
| → Description | → Product description |
| → Quantity | → Quantity |
| → Unit Price | → Price (gross) |
| → Taxes | → VAT |
| → Discount / Voucher line | → Promotion / coupon |
| Customer addresses (billing & shipping) | Customer addresses |
| → Name, Street, ZIP, City, Country, Email | → Same fields |
| Payment Terms | Payment method |
| Shipping method | Shipping method |
| Shipping cost | Shipping cost |
ℹ️ Shopware discount codes and promotions are imported as a separate Voucher line item on the sales order.
ℹ️ When an order is imported, the integration automatically updates its status in Shopware to In Progress.
Steps:
- In Shopware admin, go to Orders > Overview and select the order you would like to import to Odoo.
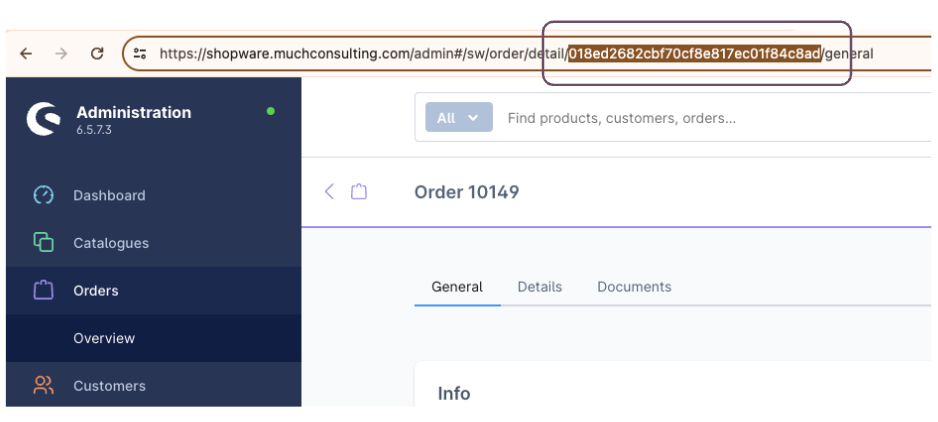
- In the order page, copy the order ID from the page URL.
- In Odoo, navigate to Integration Hub > Shopware and click the Import button.
- In the Resource field, select Orders
- In the Specific ids, paste the order ID from the Shopware URL.
- Click Execute.
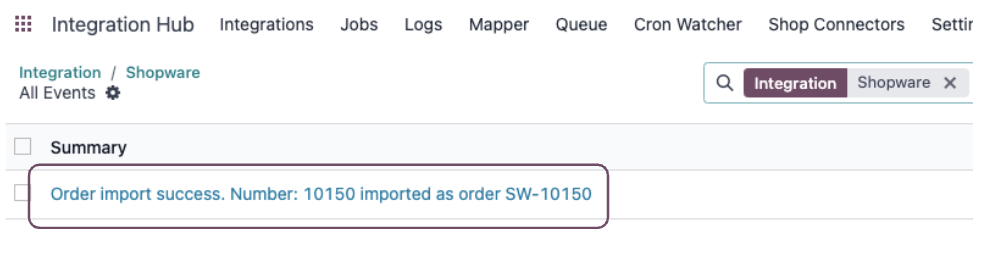
- Click on the Logs or Orders smart button to access your newly imported order.
Shopware - Odoo workflows
In this section, you will learn how to use the integration in your daily workflows.
Automated product synchronisation
1. Shopware to Odoo (Import)
By default, the integration will automatically import new products from Shopware to Odoo, on a daily basis.
To modify this scheduled action, you can go to Integration Hub > Shopware and click the Scheduled Actions smart button at the top of the page.
If you want the scheduled action to also automatically update existing products in Odoo when a modification is made in Shopware :
- Go to Integration Hub > Shopware > Integration Settings
- In the Product Settings tab, check the Update Existing Products option.
- Save your changes.
Import Modes — Standard vs. High Volume
When importing products, two modes are available:
| Standard | High Volume | |
|---|---|---|
| Best for | Small to medium catalogs | Large catalogs (hundreds of variants per product) |
| How it runs | Single-pass, synchronous | Phased background job |
| Phases | 1 (all at once) | 6 phases: templates → variants → images → pricing → taxes → done |
| Feedback | Immediate result | Notification when complete |
| Recommended timing | Any time | Outside working hours for very large catalogs |
You can set the default import mode per connector in the Product Settings tab under Product Import Pipeline Version.
2. Odoo to Shopware (Export)
There is no scheduled action that automatically exports your products to Shopware.
If you manage your product information in Odoo, products must have been synchronised with Shopware (via import or export) to enable automatic updates.
To automatically reflect in Shopware updates that you might do on your products in Odoo :
- Go to Integration Hub > Shopware > Integration Settings
- In the Product Settings tab, check the Export on save option.
- Save your changes.
The option enables real-time updates of your products (template or variants) in Shopware when you make changes and save them in Odoo.
Automated order import
By default, the integration will automatically import new orders from Shopware to Odoo, on a daily basis.
To modify this scheduled action, you can go to Integration Hub > Shopware and click the Scheduled Actions smart button at the top of the page.
To ensure the automated order workflow happens seamlessly, you first need to configure the integration default order settings. To do so, navigate to Integration Hub > Shopware > Integration Settings > Sales Settings.
Default sales settings
- Warehouse : define the default warehouse where your products are located. This setting will be overwritten if the Products are configured to be in a different warehouse.
- Locations : define, if applicable, the default location from which your products should be shipped within the default warehouse
- Shipping policy : choose whether you would like to ship an order as soon as possible, meaning that the order should have multiple shipment based on product availability, or if you prefer to ship an order in one shipment when all product are ready
- Shipping method : define a default shipping method for your incoming orders.
- Set prefix before order : this allows you to differentiate orders coming from Shopware by adding a prefix before the order ID. You can for example use SW as a prefix.
Default sales workflows
- Confirm Order on Import: Automatically confirms imported orders, triggering delivery order creation.
- Create Invoice on Order Import: Automatically creates an invoice for each imported order.
- Apply taxes from order lines: When enabled, taxes are taken directly from the Shopware order lines and applied to the Odoo sales order. When disabled, Odoo resolves taxes from the product configuration.
- Auto-create products: When enabled, if a product from a Shopware order does not yet exist in Odoo, it will be created automatically during import.
- Salesperson / Sales Team: Assign a default salesperson and sales team to all imported orders.
Click Save after configuring.
Order import overlap
In the Connection Settings tab, the Order import overlap (minutes) field (default: 30 minutes) adds a time buffer to each scheduled import window. This prevents orders from being missed due to slight timing differences between Shopware and Odoo.
Automated product stock export
After an order is imported and confirmed, the stock of the included products is updated in the Odoo Inventory App based on the quantities ordered.
To keep your shop up-to-date on products stock, the integration will automatically export product stock on a daily basis.
To modify this scheduled action, you can go to Integration Hub > Shopware and click the Scheduled Actions smart button at the top of the page.
ℹ️ During stock export, the integration automatically archives any Odoo products that no longer exist in Shopware, keeping your connector data clean.
Automated shipment export
After an order is imported and confirmed, a delivery order is automatically created for your warehouse to dispatch the order. Once the order is dispatched, and the delivery status is set to Done, it needs to be reflected in Shopware.
The integration will automatically export delivery shipment on a daily basis.
To modify this scheduled action, you can go to Integration Hub > Shopware and click the Scheduled Actions smart button at the top of the page.
To export shipments in real-time as soon as a delivery is validated:
- Go to your connector's Sales Settings tab.
- Enable Auto-export Shipment.
- Click Save.
If the real-time export fails (e.g. due to a connectivity issue), and the Scheduled Action is active, the integration will retry the export automatically on the next cron run.
ℹ️ Partial shipments are supported. If only part of an order is shipped, Shopware will reflect a partial shipment status.
Automated return export
When a delivery in Odoo is reversed (return) and the reverse picking is validated, the integration updates the delivery status in Shopware to Returned.
The integration exports returns on a daily basis via the same shipment scheduled action.
To export returns in real-time:
- Go to your connector's Sales Settings tab.
- Enable Auto-export Shipment (this setting covers both outbound shipments and returns).
- Click Save.
Multi-company support
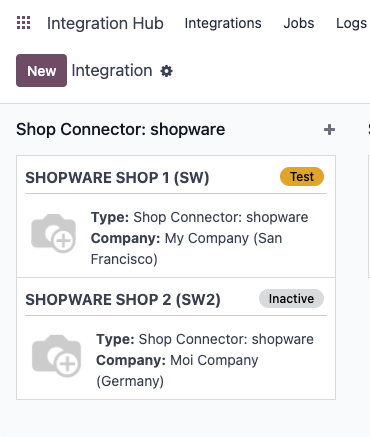
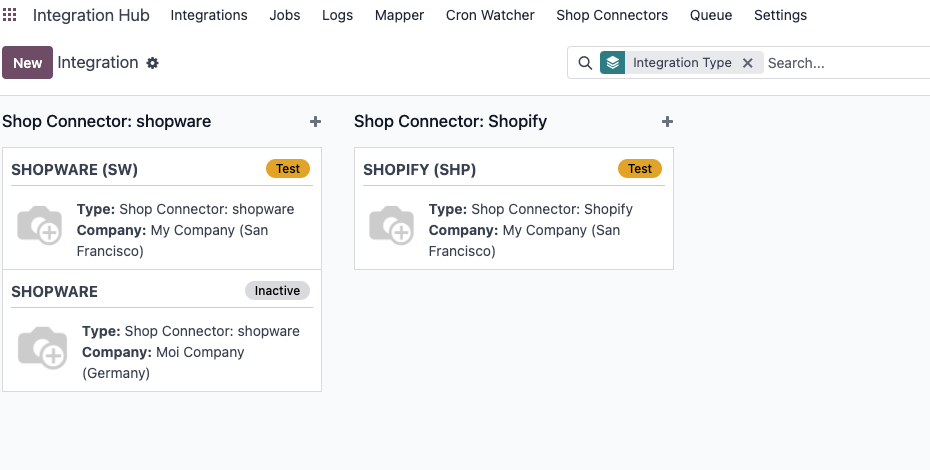
If you are using Odoo with multiple companies, you can simply create a new integration for each of the companies you want to use the Shopware integration for. You can select the company in the New Integration form.
Multi-instance support
If you want to integrate Odoo with multiple Shopware instances, you can simply create an new integration for each instance. You can fill the connection settings of each instance after creating the integration.